Jeremy Fletcher
It is not intended as a direct insult to the steam junkies, but my own personal preference is for old railcars etc. which have been neglected or ignored in the past by the mainstream as a lower form of life compared to steam locos, which they are not! Only now are they receiving more attention and appreciation, but still individual prototypes only attract modellers’ attention after all have been scrapped and proper measurements are hard to get! I previously made a model of the long gone GNR railcar ‘A’ on which I wrote up an article for New Irish Lines, May 2005. I have since made a model of the UTA MED diesel train. I made my model of a three-car MED set using brass etchings which I got made by Allen Doherty (Worsley Works). The etching sets are a basis for scratch building rather than what are normally sold as a kit: they just include body sides, ends and floors. Other parts such as roof and bogies, have to be obtained elsewhere or made by the modeller. I made the coaches by building them up directly from the etchings rather than doing “overlays” on existing available coach bodies. Suitable ‘donor’ coaches would be extremely difficult to get where I live!. Building directly from etchings is certainly a much more laborious way of doing it as I found out! There is much more soldering and it requires care to avoid excessive warping and distortion.

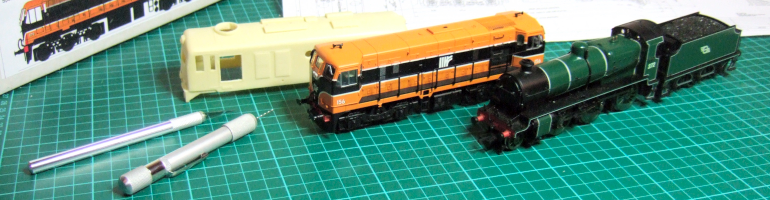
Worsley Works three-car MED set

Worsley Works three-car MED set

Worsley Works three-car MED set
The Worsley Works MED coach sides came in individual between-doors sections, aligned in their correct relative positions only by the fret sheets and separated by the spaces for the sliding doors. It was therefore necessary to attach these together by soldering in the separate sliding door etches to produce complete one-piece body sides before they are separated from the frets to maintain the alignments. It is also easiest to curve the body sides to the correct profile using the coach ends as templates before removing them from the frets. This is made easier by first bending the sides and the sliding doors separately before soldering the doors in place. I added narrow brass strips between the sides and the door edges to give more “depth” to the openings. The coach sides were very flexible and prone to buckling, so I made interior partitions from shim brass and added brass cant rail strips along inside the top edges to add rigidity. I made the coach roofs from thin styrene sheet (Evergreen) which I bent to match the profile of the coach end etches. Working with styrene sheet has its own fun aspects as it tends to warp when joined with liquid cement! I made the cab ends by filing from styrene. Much filing and fiddling were required! I used the etched brass floor sheets provided. As they are very thin and flexible I reinforced them by soldering on pieces of discarded brass code 100 rail.
I powered the MED set by means of small flat can motors with flywheels, one under each power car, hidden by the under floor/engine details, driving by flexible shafts to small homemade final drive gearboxes which ride on the inner axles of the bogies. This gives four driven axles out of a total of twelve, with the problems of traction tyres!. I used Comet LMS bogies which I modified to give insulated sides, with insulated half stub axles (Athearn style) to give current pick up on axles. All axles pick up. I used Northwest Short Line nickel silver wheels, which stay clean and give good pick up, and the MED set runs smoothly. I used Markits coach buffers and Ratio corridor connections. I made basic interior seats from styrene as the coach interiors are very visible through the many windows. The MED train runs fairly well on ordinary DC, but I do not know how well it would run on DCC.


i always like reading articles here. thanks for providing useful post
Frederick,
I built up the MED since I have a ‘soft spot’ for that and other old railcars. I had Alan Doherty of WW make the etchings for it.
Jeremy.